


When a car owner discovers a defect in their car window tint, the immediate instinct is to search for a low-cost remedy. Nevertheless, polyester film physics tends to resist internet hacks. The economics of window tinting repair require a practical solution: is the work of saving the film more valuable than a professional replacement?
This guide is a rigid decision-making model. To differentiate between physical trauma that can be repaired and chemical decomposition that is terminal, we will diagnose certain symptoms. In addition to short-term solutions, we will examine the root causes of these failures in manufacturing and show why the only solution to this issue is to choose a precision-engineered product such as ClearPro. Our goal is to provide peace of mind by ensuring that the repair and replacement cycle is eliminated forever.
Diagnosing the Damage: What Can Actually Be Repaired?
A triage of the damage should be done before a heat gun is heated up or adhesive is purchased. Not all defects in tint film are created equal. Some are common problems stemming from poor installation, others are physical trauma, and others are signs of terminal chemical decomposition.
To determine the viability of a repair, compare your situation against the following diagnostic criteria:
- The “Curing” Phase vs. Contamination
If the tint was applied within the last 7 to 14 days, “water pockets” are a normal byproduct of the installation process. The mounting solution trapped between the glass and the film needs time to permeate through the polyester and evaporate.
- Verdict: Do not touch. These will resolve independently.
- Indicator: The bubbles look like small, hazy blisters rather than sharp, air-filled pockets.
- Physical Trauma (Scratches and Gouges)
This occurs when a seatbelt buckle, a ring, or cargo impacts the film.
- Verdict: Partially repairable. You cannot “heal” the cut in the polyester, but you can fill the void to reduce light refraction and prevent the film from tearing further.
- Adhesive Failure (The “Fingers” and Peeling)
When film lifts at the edge of the tint or forms long vertical bubbles known as “fingers,” the adhesive bond has been compromised.
- Verdict: Low probability of success. Re-adhering the film is difficult because the introduction of new glue often alters the optical clarity, creating a visual distortion worse than the peel itself.
- The Purple Hue and Blistering
If the film has changed color from charcoal/black to purple, or if the bubbles are widespread and numerous.
- Verdict: Terminal. This is a chemical failure of the dye and the adhesive layer. There is no physical repair for chemical decomposition. Proceed directly to the removal and replacement section.
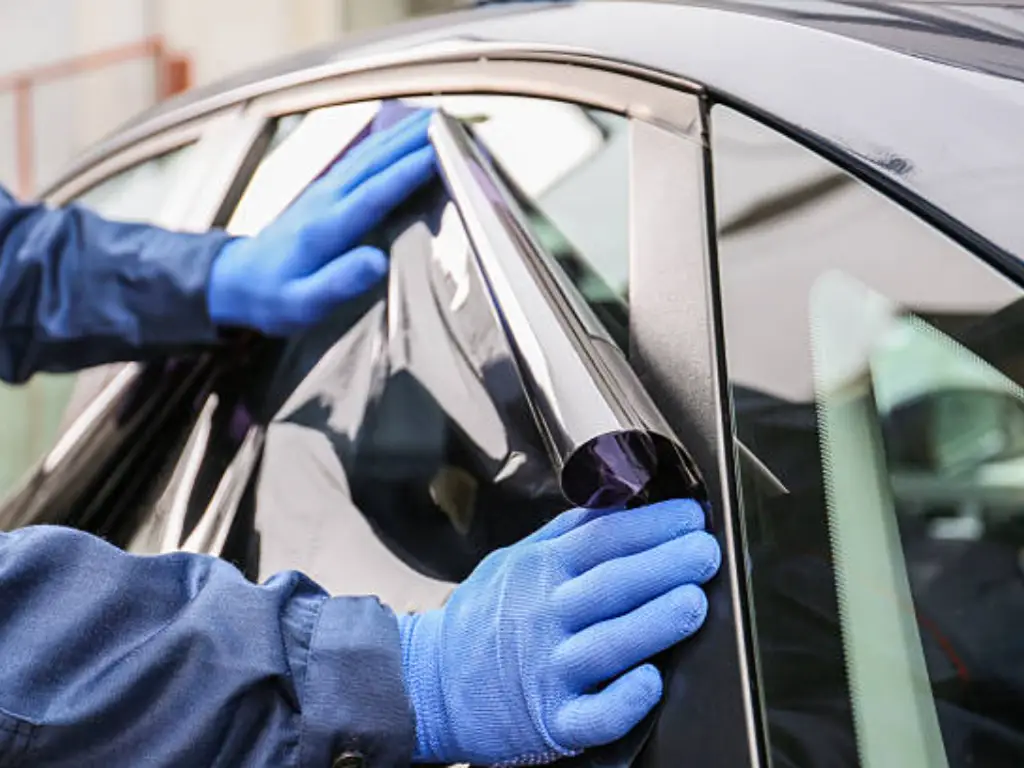
DIY Fixes for Air Bubbles and Water Pockets
If your diagnosis points to isolated air pockets (not water pockets from fresh installation) or a singular installation error, mechanical intervention may resolve the issue. The objective here is to flatten the film and reactivate or settle the adhesive without creasing the polyester.
Required Tools:
- Variable temperature heat gun (a hair dryer is typically insufficient for professional-grade film).
- A hard card or squeegee wrapped in a microfiber cloth.
- A spray bottle filled with distilled water (to lubricate the film surface).
- A fine-gauge sewing needle (a standard razor is too large for the pin prick method).
The Heat and Compress Method
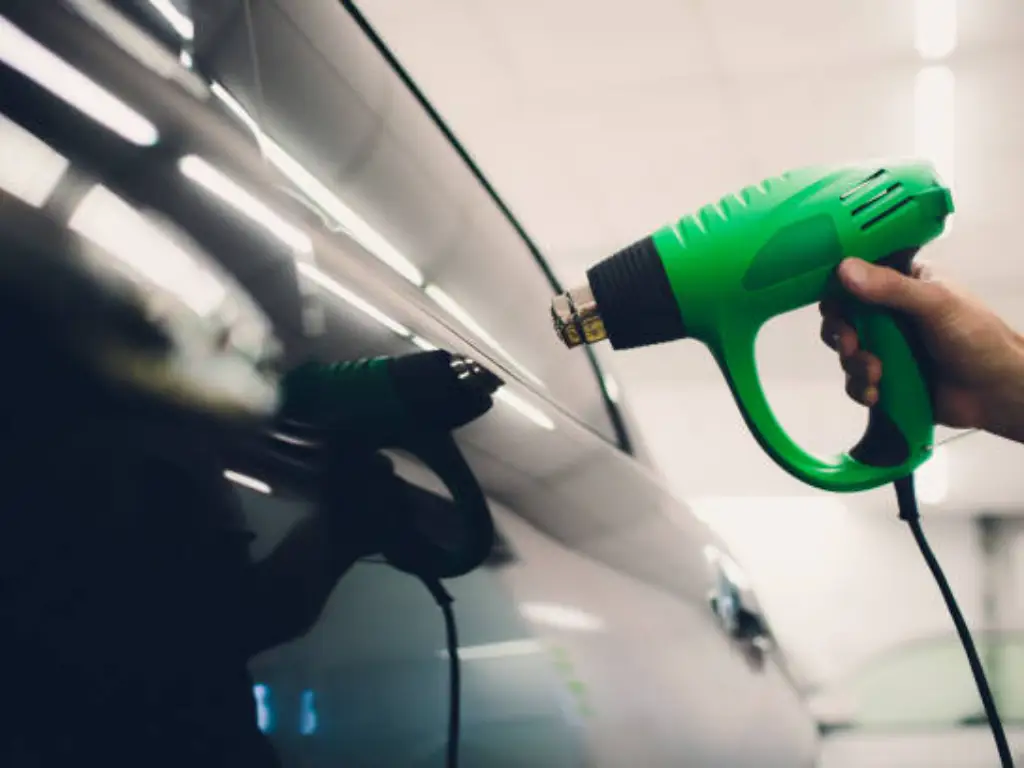
This method works best for “fingers” or bubbles near the edge of the glass.
- Temperature Control: Set the heat gun to a low setting (approximately 140°F – 200°F). Hold it 6 to 8 inches away from the glass.
- Plasticity: Apply heat in short sweeps. You are waiting for the film to relax. Overheating will singe the film, turning it white or brittle.
- Directional Pressure: Once the film softens, use the squeegee to push the air toward the nearest edge. Do not force it; if the adhesive has grabbed, forcing it will cause a crease.
The Pin Prick Method
This is often the only solution for an air bubble trapped in the center of a window where the air cannot be pushed to an edge.
- The Reality: This is a destructive repair. You are intentionally creating a hole in the film. The goal is to trade a large, visible bubble for a microscopic, barely visible puncture.
- Procedure:
- Heat the area slightly to soften the film.
- Approach the bubble with a fine needle at a shallow angle, piercing the very center.
- Do not slice the film. A single puncture is sufficient.
- Apply heat again, then use the squeegee to gently push the air toward the pinhole. The heat will encourage the adhesive to bond to the glass as the air vacates.
Note: If the bubble contains debris (dust or lint), the bubble will flatten, but the debris will remain visible as a small white speck. This is a permanent defect known in the industry as a “contamination speck.”
Repairing Minor Scratches and Peeling Edges
Scratches on window tint are distinct from scratches on glass. You have damaged a layer of polyethylene terephthalate (PET). You cannot polish it out like clear coat on a car; you must fill the valley of the scratch to match the refractive index of the surrounding film.
The Clear Nail Polish Technique
For hairline scratches that catch the light, clear enamel (nail polish) is the industry-standard field repair.
- Clean the Area: Use isopropyl alcohol to remove wax or grease from the scratch.
- Application: Apply a thin layer of clear nail polish over the scratch.
- Leveling: Before it dries, use a straight edge (like a credit card) to wipe away the excess, leaving the enamel only inside the crevice of the scratch.
- Result: The polish fills the gap, preventing light from scattering. The scratch will disappear from a distance, though it may remain visible upon close inspection.
Managing Peeling Edges
When tint peels at the corner, it usually collects dust, which neutralizes the remaining adhesive.
- Clean the Film: Carefully lift the peeling flap and use a piece of masking tape to dab away dust from the back of the film.
- Adhesive Selection: Do not use cyanoacrylate (Super Glue). It emits vapors that fog the surrounding tint and glass permanently.
- Re-bonding: Use a specialized clear drying craft glue or a diluted solution of white glue (Elmer’s). Apply a microscopic amount with a toothpick.
- Compression: Squeeze the air out and hold it in place with tape for at least an hour.
- Warning: This repair will likely leave a visible line where the refraction changes. It is a functional repair to stop further peeling, not an aesthetic restoration.
The Purple Fade: When Replacement Is the Only Option
The major myth is that purple tint is restorable. It cannot. To see why we must examine chemistry.
Entry-level and standard window films are made with dyed polyester. With time, the molecular bonds of these dyes are attacked by solar radiation (in this case UV rays). When the yellow, blue, and red primary dyes are exposed to the sun, the yellow and blue dyes are likely to degrade quicker, leaving the red and blue pigments that will visually mix to form purple.
A purple film is a sign that the UV inhibitors of the mounting adhesive and the film structure have broken.
- Structural Integrity: The adhesive tends to fail after the dye. This causes the effect of bubbling, which is in fact off-gassing, the adhesive is chemically decomposing and creating gas bubbles between the film and the glass.
- The Economic Verdict: It is useless trying to paste down a swelling, purple film. The substrate itself is falling apart. The full removal and replacement is the only rational step to take.
Why Tint Fails: Material Quality and Manufacturing Science
The vast majority of repair inquiries stem from fundamental failures in the manufacturing process of the film. High-quality window film does not bubble, fade to purple, or peel spontaneously. These issues are characteristic of unstable adhesive formulations and unregulated manufacturing environments.
To understand why this happens—and how it is prevented—we must look at the production standards of top-tier manufacturers like ClearPro.
The Manufacturing Environment: The Invisible Enemy
The main reason of the bubbles that are not installation errors is contamination in the coating. When a microscopic dust particle settles on the film during the lamination process, it forms a weak point in which the adhesive is unable to bond. This weak point is expanded over time by heat to form a bubble.
ClearPro is able to eliminate this risk by having a Class 1000 cleanroom in a 3,000-square-meter facility. This is a very important differentiator in the world of precision manufacturing. Class 1000 environment is very strict in terms of air particulates, temperature and humidity. This guarantees that the Polyoptico™ coating which is the proprietary high-density nano-material structure of ClearPro is deposited onto the PET substrate without any interference of one micron. It is this degree of environmental control that ensures that premium films are optically clear and that budget films form haze and bubbles.
Adhesive Chemistry and Certifications
The above-mentioned purple fade is due to the use of cheap dyes instead of stable inorganic compounds. ClearPro makes use of a nano-ceramic structure that is not based on volatile dyes.
In addition, consistency is ensured by strict management systems. ClearPro is certified to IATF 16949 the gold standard of the automotive industry, as well as to ISO 9001, ISO 14001 and ISO 45001.
When you purchase a movie that has been produced in accordance with these stringent measures, you are not purchasing a piece of plastic; you are purchasing a product that is designed to resist the solar energy without breaking down through chemical means. The necessity of repair is actually designed out of the product on a factory level.
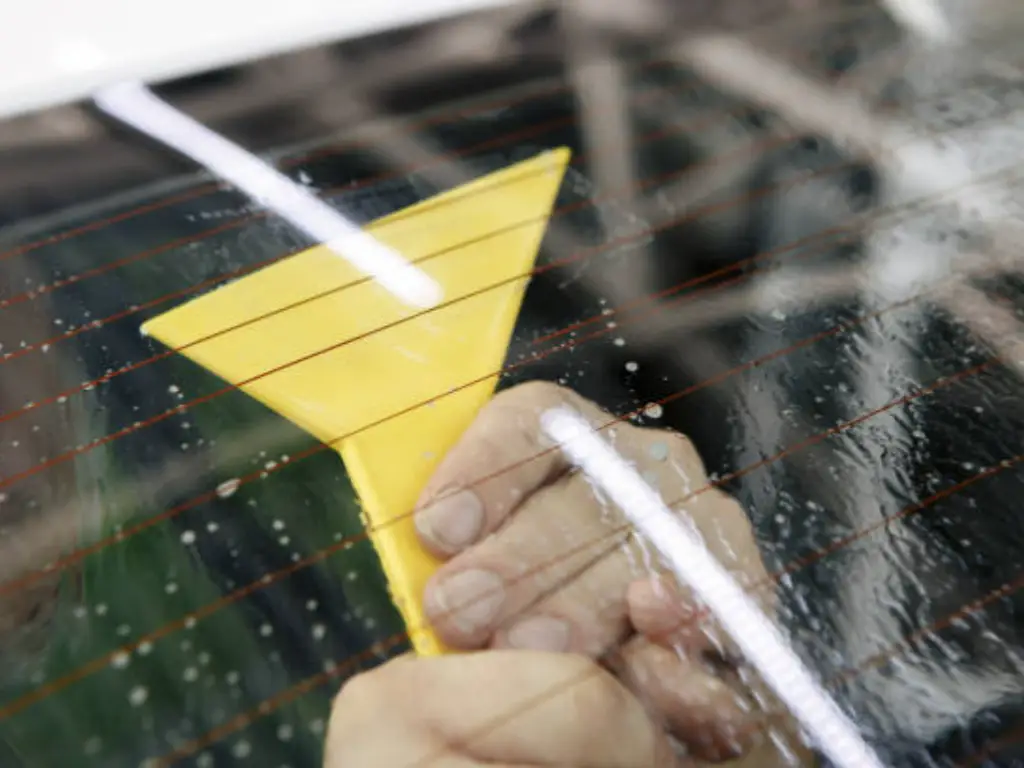
Safe Removal Techniques to Avoid Damaging Defrosters
In case your diagnosis reveals that the film is dead, the next thing to do is to remove it. The defroster lines (and radio antenna lines) pose a particular high-risk challenge to the rear windshield. These are fine conductive strips that are printed on the glass. They will be cut off by aggressive scraping and will need a full replacement of the rear glass to be functional again.
The Steam Method (Recommended)
Steam is the safest agent for removal because it penetrates the film pores and hydrates the adhesive while heating it.
- Equipment: A handheld fabric steamer.
- Process: Hold the steamer against the film for several seconds until the film feels hot.
- Peeling: Pick a corner and pull slowly at a low angle (pulling back against the film, not out).
- Result: The adhesive should stay on the film rather than the glass.
The Trash Bag Method (Solar Heat)
If you lack a steamer, use the sun.
- Prep: Spray the inside of the window with soapy water.
- Cover: Place a black trash bag over the wet film.
- Heat: Park the car in direct sunlight for 60 minutes. The black plastic absorbs heat, raising the glass temperature to a point where the adhesive liquefies.
- Removal: Peel the film while it is still hot.
Once the film is off, remove residual glue with ammonia-based cleaners (if safe for your interior) or dedicated citrus-based adhesive removers and fine steel wool (Grade 0000)—but never use steel wool on defroster lines. Use a blue scrub pad for those areas.
Choosing Long-Lasting Film for Your Next Installation
The cycle of installing cheap tint, watching it fail, and struggling to repair it is economically inefficient. The solution is to install a product backed by data and manufacturing guarantees.
When selecting your replacement film, ignore marketing buzzwords and look for the technical specifications.
Why Professional Installers Choose ClearPro
ClearPro vs. Standard Market Film: The Data
| Performance Metric | Standard Industry Film | ClearPro Engineered Film | The Advantage |
| Optical Gloss (60°) | 80 – 83 GU | 95 GU | Higher definition clarity. |
| Surface Texture (Orange Peel) | Ra 0.15 – 0.25 µm | Ra ≤ 0.05 µm | Mirror-flat finish visible under 500x microscope. |
| Hydrophobicity (Aging Test) | Drops to <90° after aging | Maintains ≥100° | 2,000h Xenon aging test validated by SGS. |
| Self-Healing Efficiency | ~50% after 3,000 cycles | >90% after 10,000 cycles | Heals scratches via heat consistently over time. |
| Warranty | 3–5 Years (Paper) | 10 Years (Electronic) | Covers yellowing, cracking, and delamination. |
Professional shops prefer ClearPro not just for the ease of installation (thanks to a >400% elongation rate and 8 mil thickness for easier edging), but for the documented performance metrics that protect their reputation.
- Optical Clarity: ClearPro films achieve a 60° Gloss of 95 GU (Gloss Units), significantly higher than the standard 80-83 GU found in generic films. This means zero distortion.
- Zero Orange Peel: Under a 500x microscope, ClearPro surfaces show a Roughness Average (Ra) of ≤0.05 µm. Competitors often range from 0.15–0.25 µm. This smoothness is visible to the naked eye as a glass-like finish.
- Validated Durability: The films are subjected to 2,000 hours of Xenon aging and 5,000 hours of UVB exposure (validated by SGS reports). The result is a color change (ΔE) of less than 1.0. To put that in perspective, the industry standard allows for a ΔE of 2.0. ClearPro is twice as stable as the standard requires.
Because of this manufacturing confidence, ClearPro provides a 10-year warranty covering yellowing, cracking, fading, delamination, and bubbling. This is an electronic warranty issued from the factory.
If you are tired of researching how to fix scratches and bubbles, the answer isn’t a better repair technique. It is a better film. By choosing a manufacturer like ClearPro, you are investing in a decade of clarity, supported by the highest certifications in the automotive manufacturing industry.